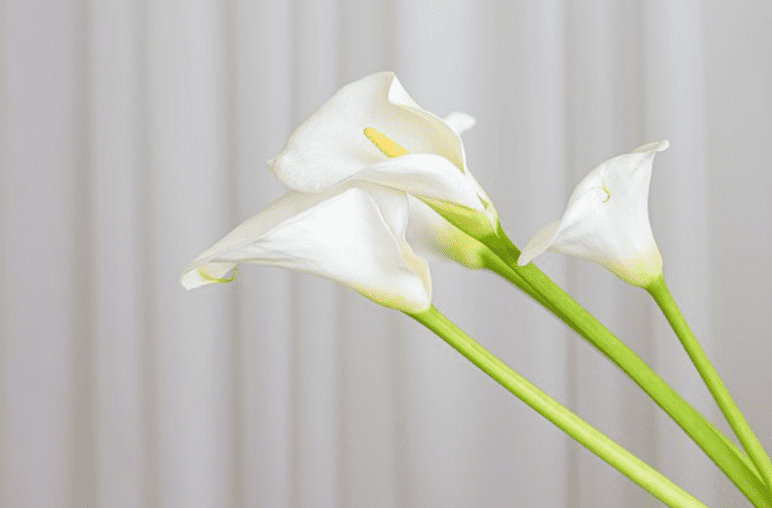
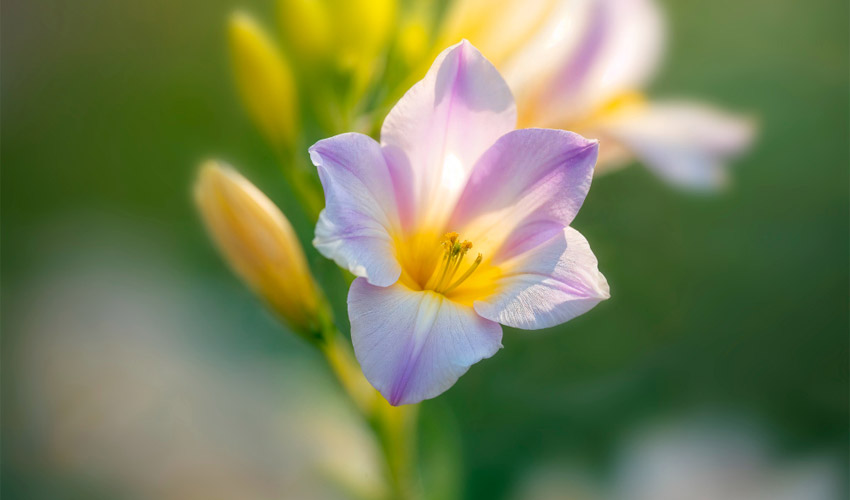
Freesias are popular spring bulbs known for their bright, fragrant flowers. You can grow them from seeds or corms, and they come in many colors like pink, white, yellow, mauve, and red. Once established, they are easy to care for. For a scented spring garden, try planting several together in rockeries, under trees, or in pots around your yard or balcony.
Table of Contents
ToggleUseful Freesia Growing Tips
If you want to understand how to grow freesia successfully, follow these simple tips for healthy growth and better blooms.
- Let the plants die back on their own before digging them up. This helps the corm store as much energy as possible for next year.
- Ideal for mass planting in beds, beneath trees that provide partial shade, or along grassy slopes.
- Improve germination by soaking seeds in lukewarm water for 24 hours before sowing.
- You can leave freesias in the ground or garden bed for several years.
- In some areas, freesias may spread aggressively. Remove seed heads to control self-seeding.
- Sow freesia seeds in late summer to autumn.
- Plant freesia bulbs in early to mid-autumn for best growth.
When to Plant Freesias
Outdoor planting
Prepared corms: Prepared corms can give you an early display. You can buy them in the spring for flowers in July and August.
Unprepared corms: Available in late summer, these can be planted outdoors in August or September in mild regions with little to no frost. The corms can stay in the ground and will flower the following spring.
Indoor planting
Plant your indoor corms in containers between August and December. They will bloom from January to April. If everything goes well, planting in October should give you flowers in March for four or five weeks.
How to Plant Freesias
In the ground:
In April, plant corms 5 cm (2 in) deep in a sunny, sheltered area with well-drained soil and twiggy sticks to hold them up.
In containers:
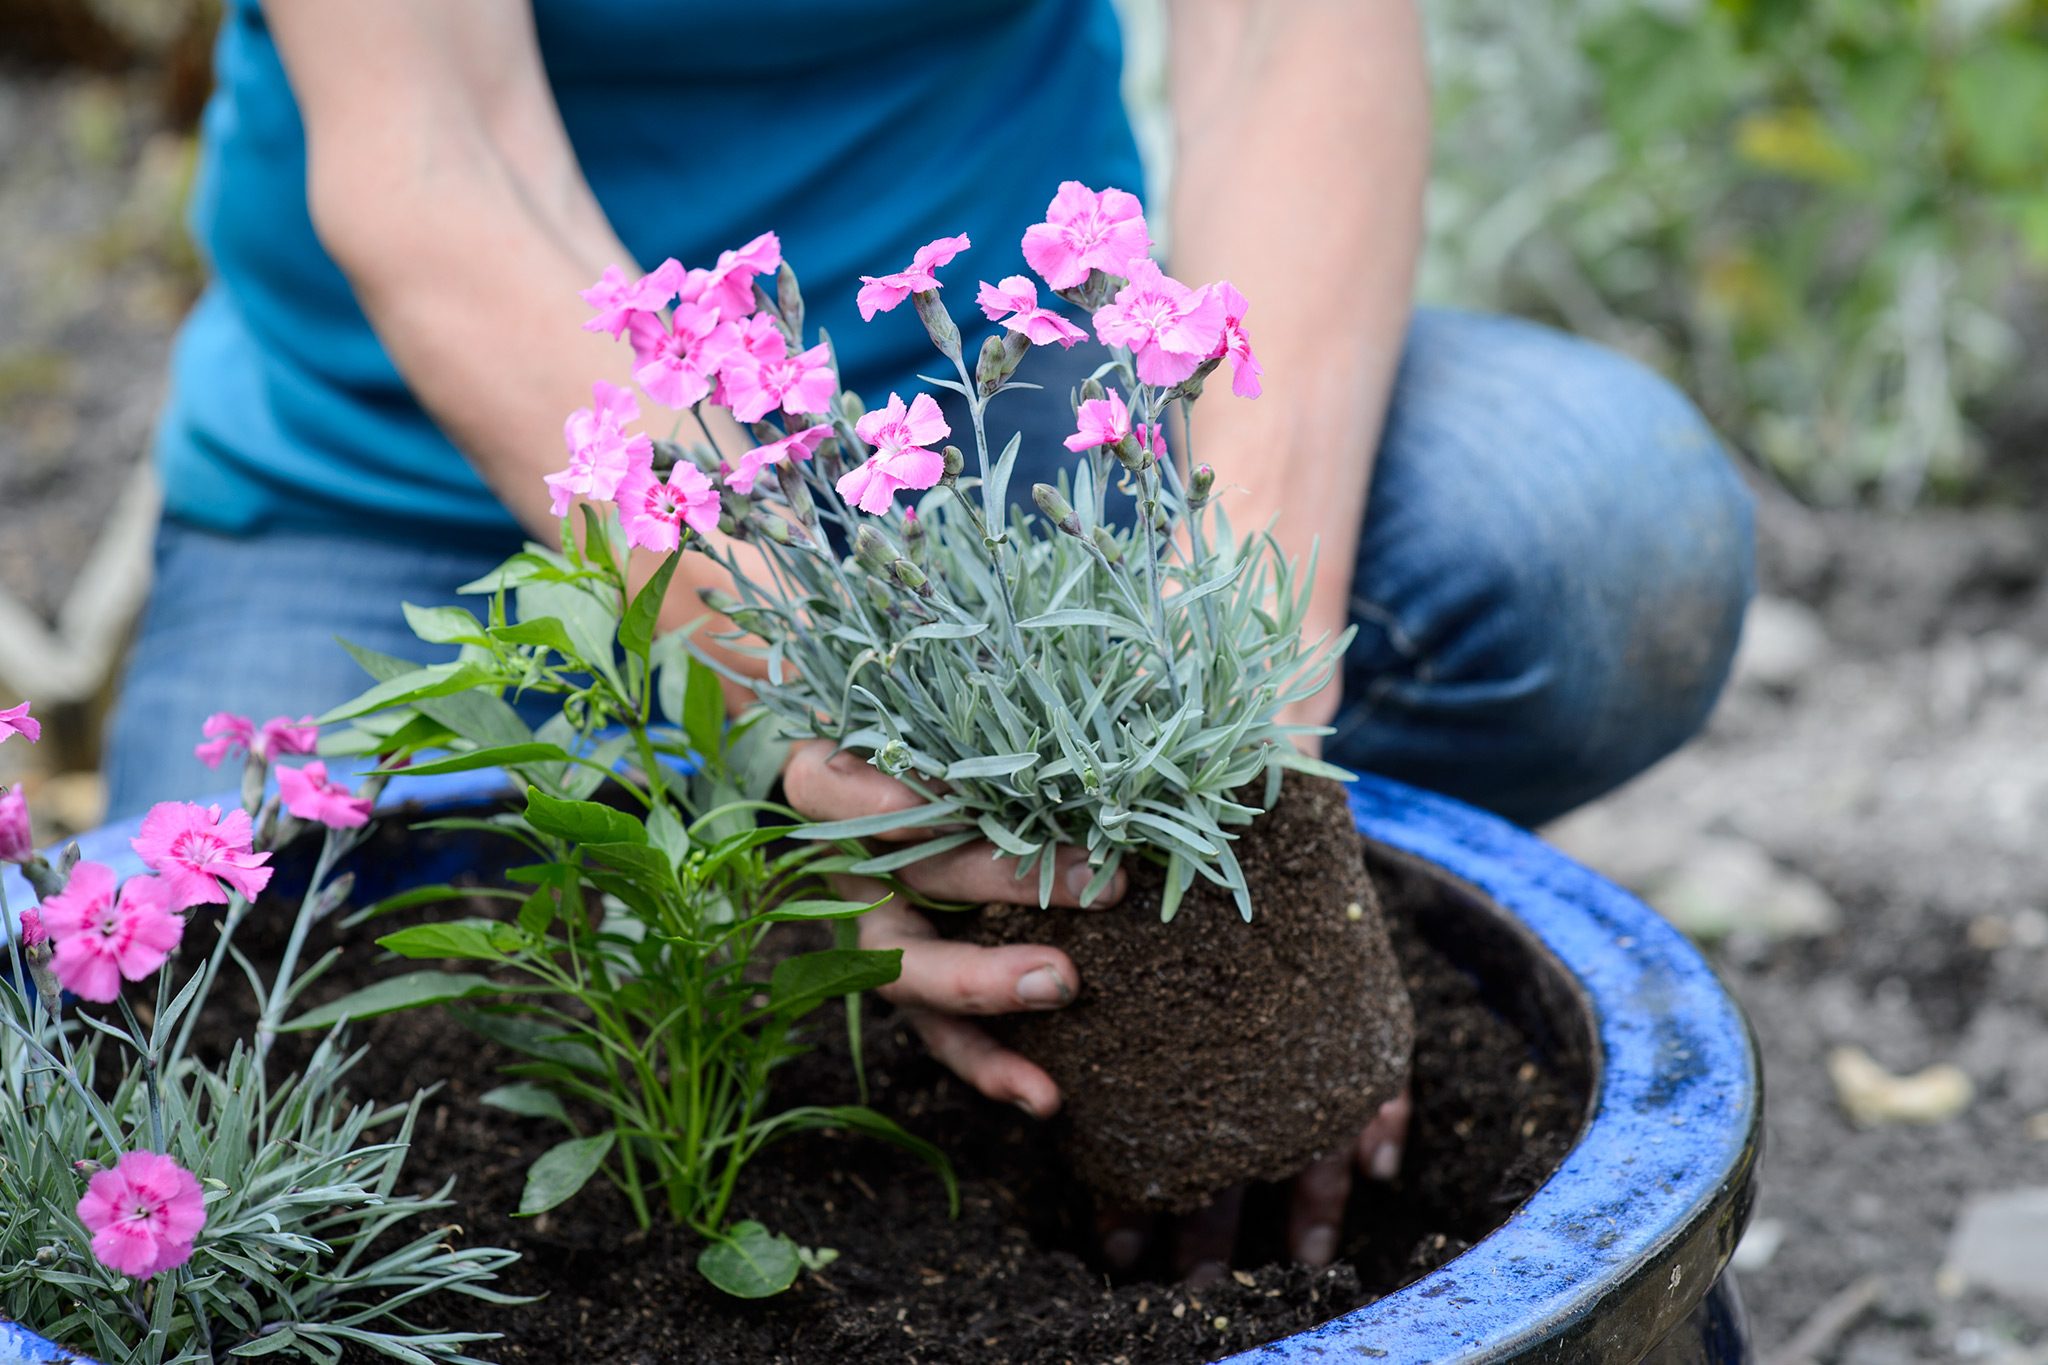
- Use a mixture of two-thirds peat-free compost and one-third horticultural grit.
- Space the corms about 5–8 cm (2–3 inches) apart, keeping the tips just above the compost surface
- Water lightly and place in a cool, frost-free location, such as a cold frame, at around 5°C (41°F) for 3–4 weeks.
- Move the pots to a cool greenhouse or conservatory, maintaining a temperature of 10–15°C (50–60°F) during winter.
- Provide plenty of light and ensure good air circulation.
- Keep the soil consistently moist; don’t allow it to dry out.
- Feed with a high-potassium fertilizer, such as Phostrogen or tomato feed, every two weeks once buds begin to appear.
How to Care for Freesia
Watering and feeding
Give the plants water as needed while they are growing.
After your freesias have finished blooming, cut off the dead flowers and keep watering and feeding them until the leaves start to wilt and the colors turn yellow or brown. Then stop watering. To get offsets to grow, you will need to wait at least eight weeks. The leaves need to dry out by early July if you are going to keep them for another year.
Storing corms
A dry, warm time is needed after you dig up the corms to “ripen” them, which means to help them form flower buds. Put your dry corms in a paper bag at 26°C (80°F) with 75–80% humidity for 14–20 weeks. Try a warm airing cupboard or conservatory.
How to Prune and Train Freesia
Deadheading
If you don’t need seeds to grow more plants, you can cut back spent flowers at the base of the flower stalk. This will stop the plant from making seeds and save energy in the bulb for next year’s display.
Cutting back bulb foliage
Wait at least six weeks after flowering finishes before cutting back the dead foliage. Only remove the leaves once they turn yellow or brown and become dry and straw-like. During this period, continue to water and feed the bulbs as recommended. Also, avoid tying or knotting the leaves.
Propagating Freesia
Plant freesia corms in autumn if you’re growing them within hardiness zones 9–10. In cooler regions, wait until spring and plant them after the last frost, as freesias are sensitive to cold.
Once the foliage fades, lift the dormant corms to protect them from freezing temperatures. You’ll notice small offsets forming around the parent corm, which you can use for propagation:
- Gently separate the small corms from the parent corm.
- Plant them individually, spacing 2–3 inches apart and 1–2 inches deep.
- Water thoroughly after planting
- Expect shoots within four weeks, though flowering may take 1–2 seasons.
Common Problems with Freesia
Freesias are generally hardy and easy to grow, but they can occasionally run into a few problems.
Yellowing Leaves
If the leaves start twisting or turn yellow too early, check for aphids. These sap-sucking insects drain the plant’s energy, so it’s important to control aphids naturally before they spread. Wash them off with a strong stream of water or use a Homemade Aphid Spray as an effective alternative to insecticidal soap or horticultural oil. Yellowing can also signal Fusarium wilt, a fungal infection that has no cure, so affected plants should be removed and discarded.
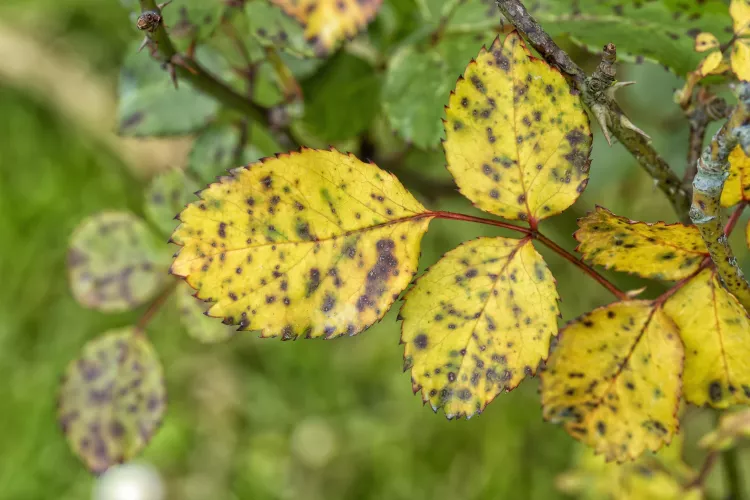
Dark Spots
Black, grey, or brown spots on leaves, flowers, or stems may indicate bacterial soft rot. It often starts as small patches that spread and cause larger sections to turn brown. To Manage Leaf Spot Diseases, act early and monitor the plant closely. If the infection is severe, remove the entire plant to prevent spreading. In mild cases, reduce watering and keep observing, as the plant may recover if conditions improve.
Yellow or Green Lesions
Small, watery yellow-green spots can be a sign of iris leaf spot, a fungal issue linked to overly wet soil. Ensure the plant grows in well-draining soil and remove any affected parts promptly to control the spread.