Squash has so much to offer. With its wide range of sizes, flavors, and colors, it provides endless options for both your garden and your meals. From massive pumpkins to compact ‘Patty Pan’ types, squash varieties display a range of colors, from speckled greens and yellows to bold, fiery hues.
Some of the ones we enjoy most are incredibly ornamental. Take ‘Uchiki Kuri’, for example—it climbs over arches and frames, bearing brilliant orange fruits with a sweet flavor and smooth, waxy flesh. Others are kitchen essentials, like the silver-blue pumpkin ‘Crown Prince’. It consistently ranks high in flavor and keeps beautifully for up to twelve months.
Table of Contents
ToggleHow to Grow Squash
Where to Grow Squash
Choose a sunny, sheltered spot for your squash plants. They grow best in rich, moist soil. Add compost before planting to boost nutrients and help the soil hold moisture.
When to Plant Squash
Start seeds indoors during March, April, or May. Once the danger of frost has passed, usually in late May or early June, move the young plants outside to their final growing position.
How to Plant Squash
Sowing Squash Seeds
Always check the specific sowing instructions for your chosen variety, but generally, you can start squash seeds indoors in March, April, or May. For outdoor sowing, wait until the risk of frost has fully passed, usually in May or June.
To start seeds indoors, plant 1–2 seeds in a 9cm (3½in) pot filled with peat-free compost. Insert each flat seed on its side, about 2.5 cm (1 in) deep, into the compost.
Keep the pots in a warm area where the temperature remains above 15 °C (59°F) to encourage germination. Once the seedlings emerge, remove the weaker ones.
If you’re sowing directly into the ground, plant 2–3 seeds about 2.5 cm (1 in) deep. As the plants begin to establish, thin them out to leave the strongest seedling, keeping the spacing recommended on the seed packet.
Squash Seedlings
If you’ve started your squash plants indoors, you’ll need to harden them off before moving them outside. Once they develop 5–6 leaves, begin the transition by placing them outdoors during the day in a sunny, sheltered spot. Bring them back inside at night, or protect them with horticultural fleece, to help them adjust to outdoor conditions.
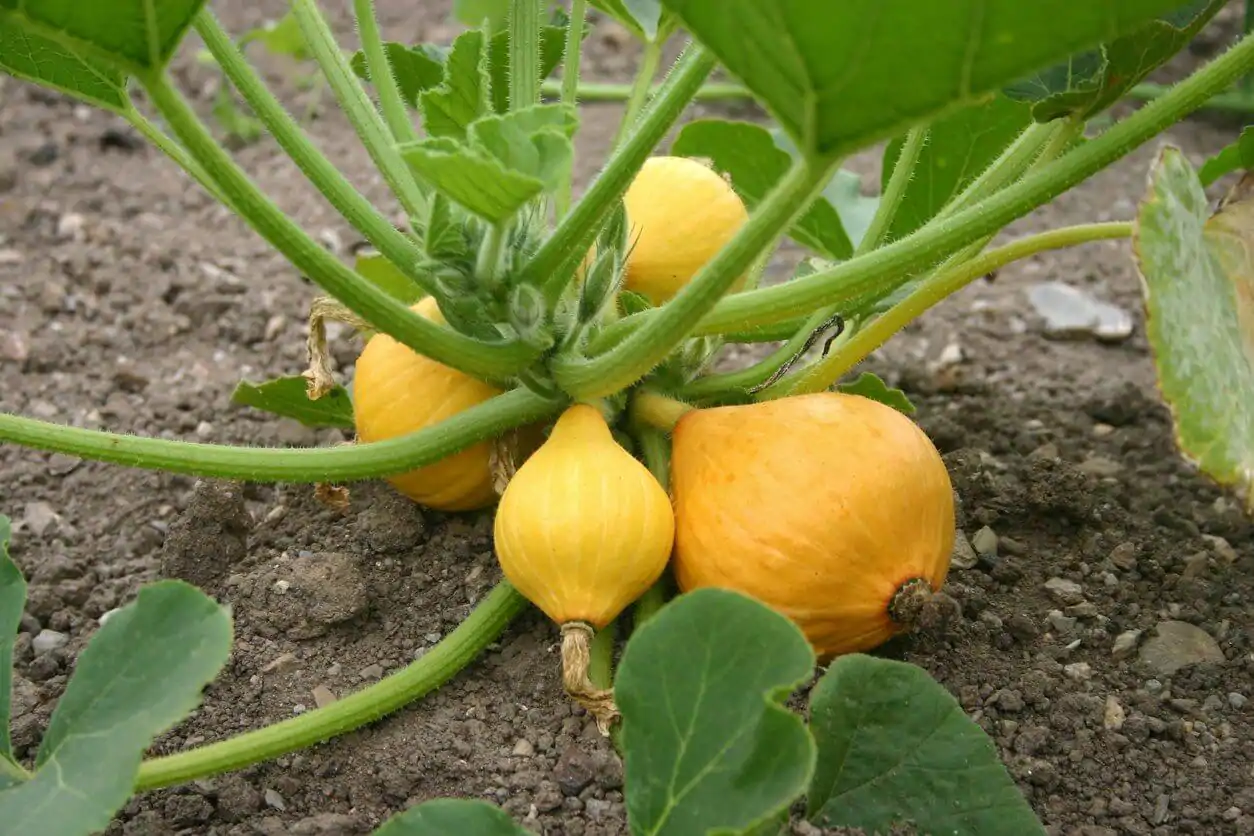
Give seedlings plenty of space when planting out, especially trailing types like pumpkins and winter squash, which can sprawl across areas as wide as 4.5m (15ft).
Trailing varieties benefit from sturdy supports. Many types will happily climb over arches, trellises, or other frames with a bit of guidance.
Growing Squash in Pots
Growing squash in pots is easy, as long as the space is generous. Select pots that are at least 45 cm (18 in) in diameter. Plant one squash per pot or two per grow bag to give them enough room to thrive.
Keep the soil damp and feed the plants regularly during the growing season. If you’re growing a trailing variety, provide a sturdy frame or trellis for the vines to climb.
How to Care for Squash Plants
Watering
Keep your squash plants consistently watered and don’t let the soil dry out. When watering, aim for the bottom and keep the leaves dry to minimize the risk of disease. Squash grown in pots tends to dry out more quickly, so it’s essential to check moisture levels frequently. Adding mulch around the base will help lock in moisture and keep the roots cool.
Feeding
Once your squash begins to bloom, start feeding every two weeks with a potassium-rich liquid feed. An organic tomato fertiliser with added seaweed works well to support flowering and fruit development.
Training
Pumpkins and winter squash like to sprawl, so give them space to spread. For climbing varieties, provide solid support, such as a trellis, archway, or frame, to help them grow upwards and stay off the ground.
Pruning
For a better yield, regularly pinch out the growing tips of each shoot starting in mid-August. Continue doing this to prevent the plant from devoting all its energy to producing endless leaves. Instead, it redirects growth towards ripening the fruit already forming.
If you skip this step, the plant may drop its flowers or small fruits and continue to grow out of control, resembling a wild vine. By keeping the growth in check, you’ll encourage more fruits to mature fully.
Harvesting
Summer squash, like courgettes, can be picked from July onwards. Winter squash and pumpkins, on the other hand, usually produce fewer but larger fruits, which need time to ripen on the vine until late summer.
Be sure to harvest winter varieties before the first frost sets in. Use a sharp tool to cut the fruit from the plant, leaving about 10cm (4in) of stem attached.
Most winter squash and pumpkins benefit from curing before storage. Let them sit on a sunny windowsill or in a warm spot for about a week. After that, store them in a dry, frost-free location, and they’ll keep for several weeks or even months.
Seasonal Squash Care Checklist
Spring
- Start sowing seeds indoors so they’re ready for transplanting after the last frost has passed.
Summer
- Water and feed plants consistently to support healthy growth and fruit production.
- Begin harvesting summer squash from July onwards.
- Add mulch at the base to help retain soil moisture.
Autumn
- Pick winter squash and pumpkins as they ripen, usually from late August through early fall.
Winter
- Use the quiet season to decide which squash varieties you want to grow next spring.