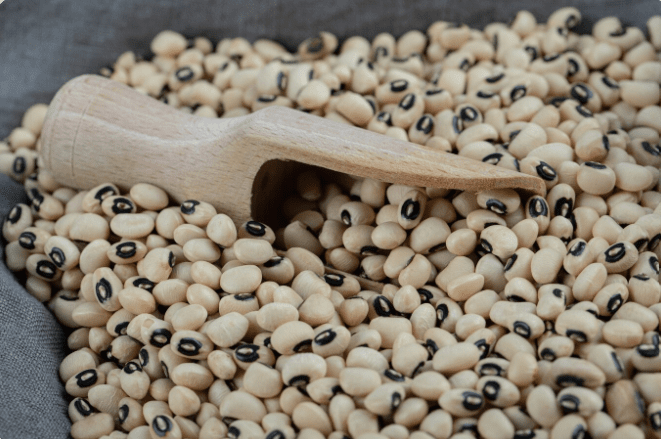
Black-eyed peas are the most well-known type of cowpeas. These warm-season legumes, often referred to as Southern peas, crowder peas, or field peas, thrive in hot climates. The most familiar variety features a white pea with a distinctive black mark near the seed scar and starts with a green pod that turns tan as it matures. However, they come in a wide range of colors such as red, purple, silver, streaked, tan, or yellow, while the peas themselves can be white, black, tan, calico, red, pink, and more. Whether you aim to cultivate a classic variety or something more unusual, their growing needs remain largely the same.
Table of Contents
ToggleWhere to Plant
When learning how to grow black-eyed peas, it’s crucial to choose the appropriate variety based on the available space. These legumes are available in both bush and vining varieties. If you’re working with limited room, bush varieties are a great option. They remain compact and can even thrive in containers. On the other hand, vining black-eyed peas need support from a trellis or poles, but they often yield a more abundant harvest.
For healthier growth, plant black-eyed peas in a somewhat protected area of your garden, where strong winds won’t stress the plants. This helps ensure steady development and a higher crop yield.
How and When to Plant
If you’re wondering how to grow black-eyed peas, timing and technique are key. These warm-weather crops are sensitive to cold and don’t transplant well, so it’s best to sow them directly into the ground after the last frost in spring. Make sure the soil temperature has reached at least 65°F to prevent issues such as seed rot or damping off.
When planting, space your rows about 2.5 to 3 feet apart. Within each row, place seeds 4 to 6 inches apart and plant them roughly 1.5 inches deep.
Care Tips for Black-Eyed Peas
Black-eyed peas are a great choice for beginner gardeners. These hardy plants thrive in hot and dry conditions. They only need minimal watering and little to no fertilization.
Light
Black-eyed peas perform best when grown in full sunlight, although they can tolerate some afternoon shade. To encourage vigorous growth and maximize your harvest, aim to provide at least 8 hours of direct sunlight each day.
Soil and Water
These legumes prefer well-draining, sandy or loamy soil with a pH between 5.5 and 6.5. They struggle in waterlogged conditions, so good drainage is essential. If your soil lacks sufficient nutrients, mix compost or well-aged manure before planting to enhance growth and yield.
Black-eyed peas are fairly drought-resistant and often don’t require extra watering if there’s consistent rainfall. However, during dry spells, watering every few days will help maintain healthy development.
Temperature and Humidity
They thrive in hot, humid conditions but are sensitive to cold. Growth will slow or stop altogether when temperatures drop, and frost will kill the vines.
Fertilizer
When soil is enriched beforehand with compost, aged manure, or a legume inoculant, additional fertilizing is usually unnecessary. Using a legume inoculant can enhance nitrogen fixation, supporting plant health while naturally improving soil fertility.
Pruning
Black-eyed pea plants typically don’t require pruning. However, if you’re growing a vining variety, it’s best to provide a trellis or support to keep the vines off the ground. This not only keeps the plants more organized but also makes harvesting easier.
Harvesting
To harvest dried black-eyed peas, wait about 80 to 100 days after planting. The beans are ready when the pods turn yellow or brown and feel dry and brittle on the plant. At this stage, they easily crack open for shelling.
Once harvested, shell the peas into a container and let them continue drying indoors if they still feel moist. For long-term storage, store the completely dried beans in an airtight jar and keep them in a cool, dry place.
Common Pests and Problems
One common issue is powdery mildew, which appears as a white, powdery coating on leaves. It’s usually caused by humidity and poor air circulation. To prevent it, space your plants properly and water directly at the soil to keep foliage dry. It’s best to water early in the morning, as it helps excess moisture to evaporate before nighttime.
Aphids are another problem. These small insects feed on sap and leave behind a sticky residue. They can deform leaves and spread bean mosaic virus. You can manage them with a strong spray of water or by applying insecticidal soap or neem oil.
Leafhoppers, which also feed on plant sap, can cause mottled or discolored leaves. Use floating row covers to safeguard young plants, and treat infestations with neem oil or organic homemade insecticidal soap.